
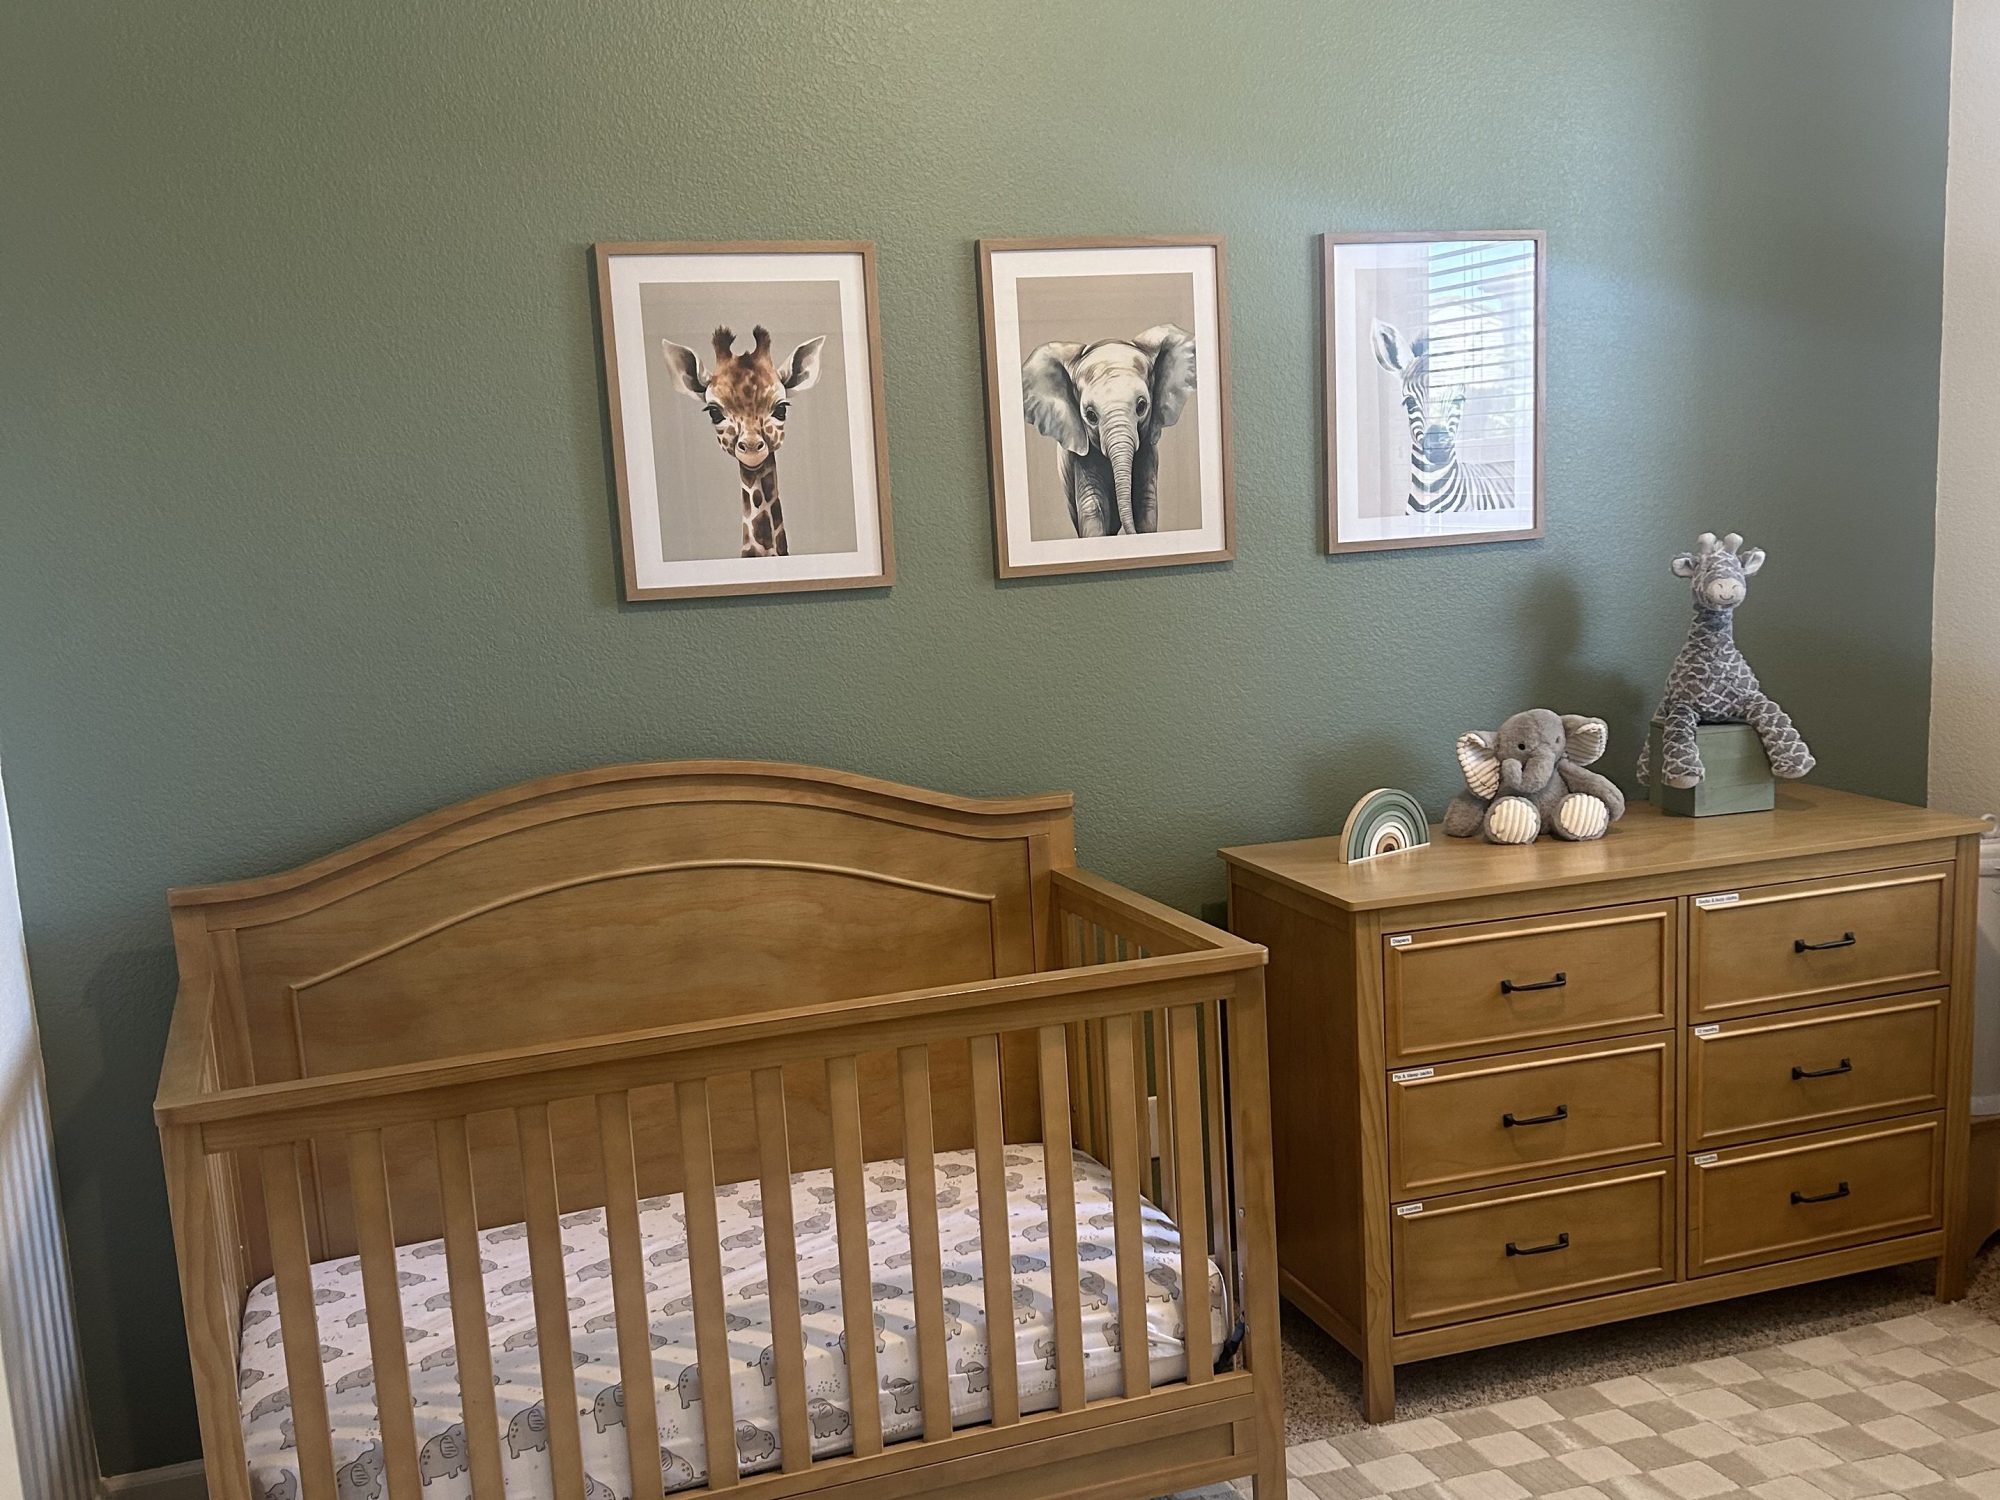
I finally got around to decorating my daughter’s nursery, and I’m so pleased with how it turned out!
I didn’t have time to decorate it before she was born, and honestly, the thought of adding one more project to my already very full plate felt pretty daunting. So the nursery sat mostly undecorated for the next 15 months.
Then, somehow, I finally found the motivation (and the vision!) to make it happen. And I’m so glad I waited until I knew exactly what I wanted rather than rushing to finish it before she arrived.
Below, I’m sharing the before-and-afters, some tips for decorating a nursery after your little one has already arrived, and my honest thoughts on the DIY process, including what I’d do differently next time.
Let me know what you think of the transformation in the comments!
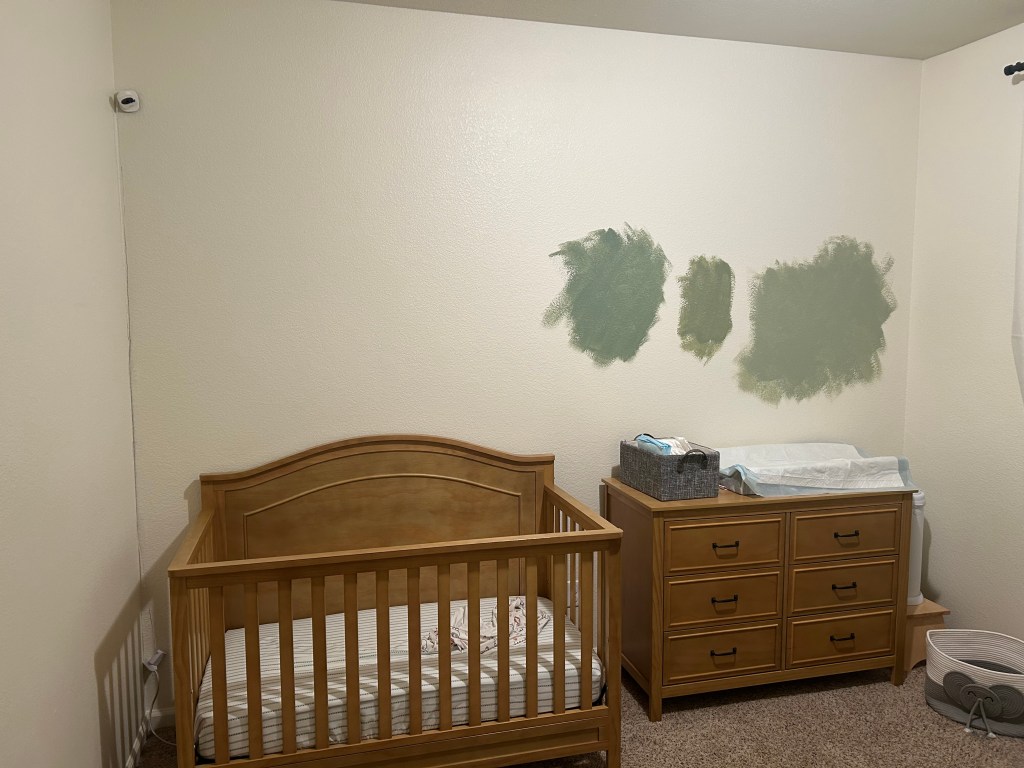
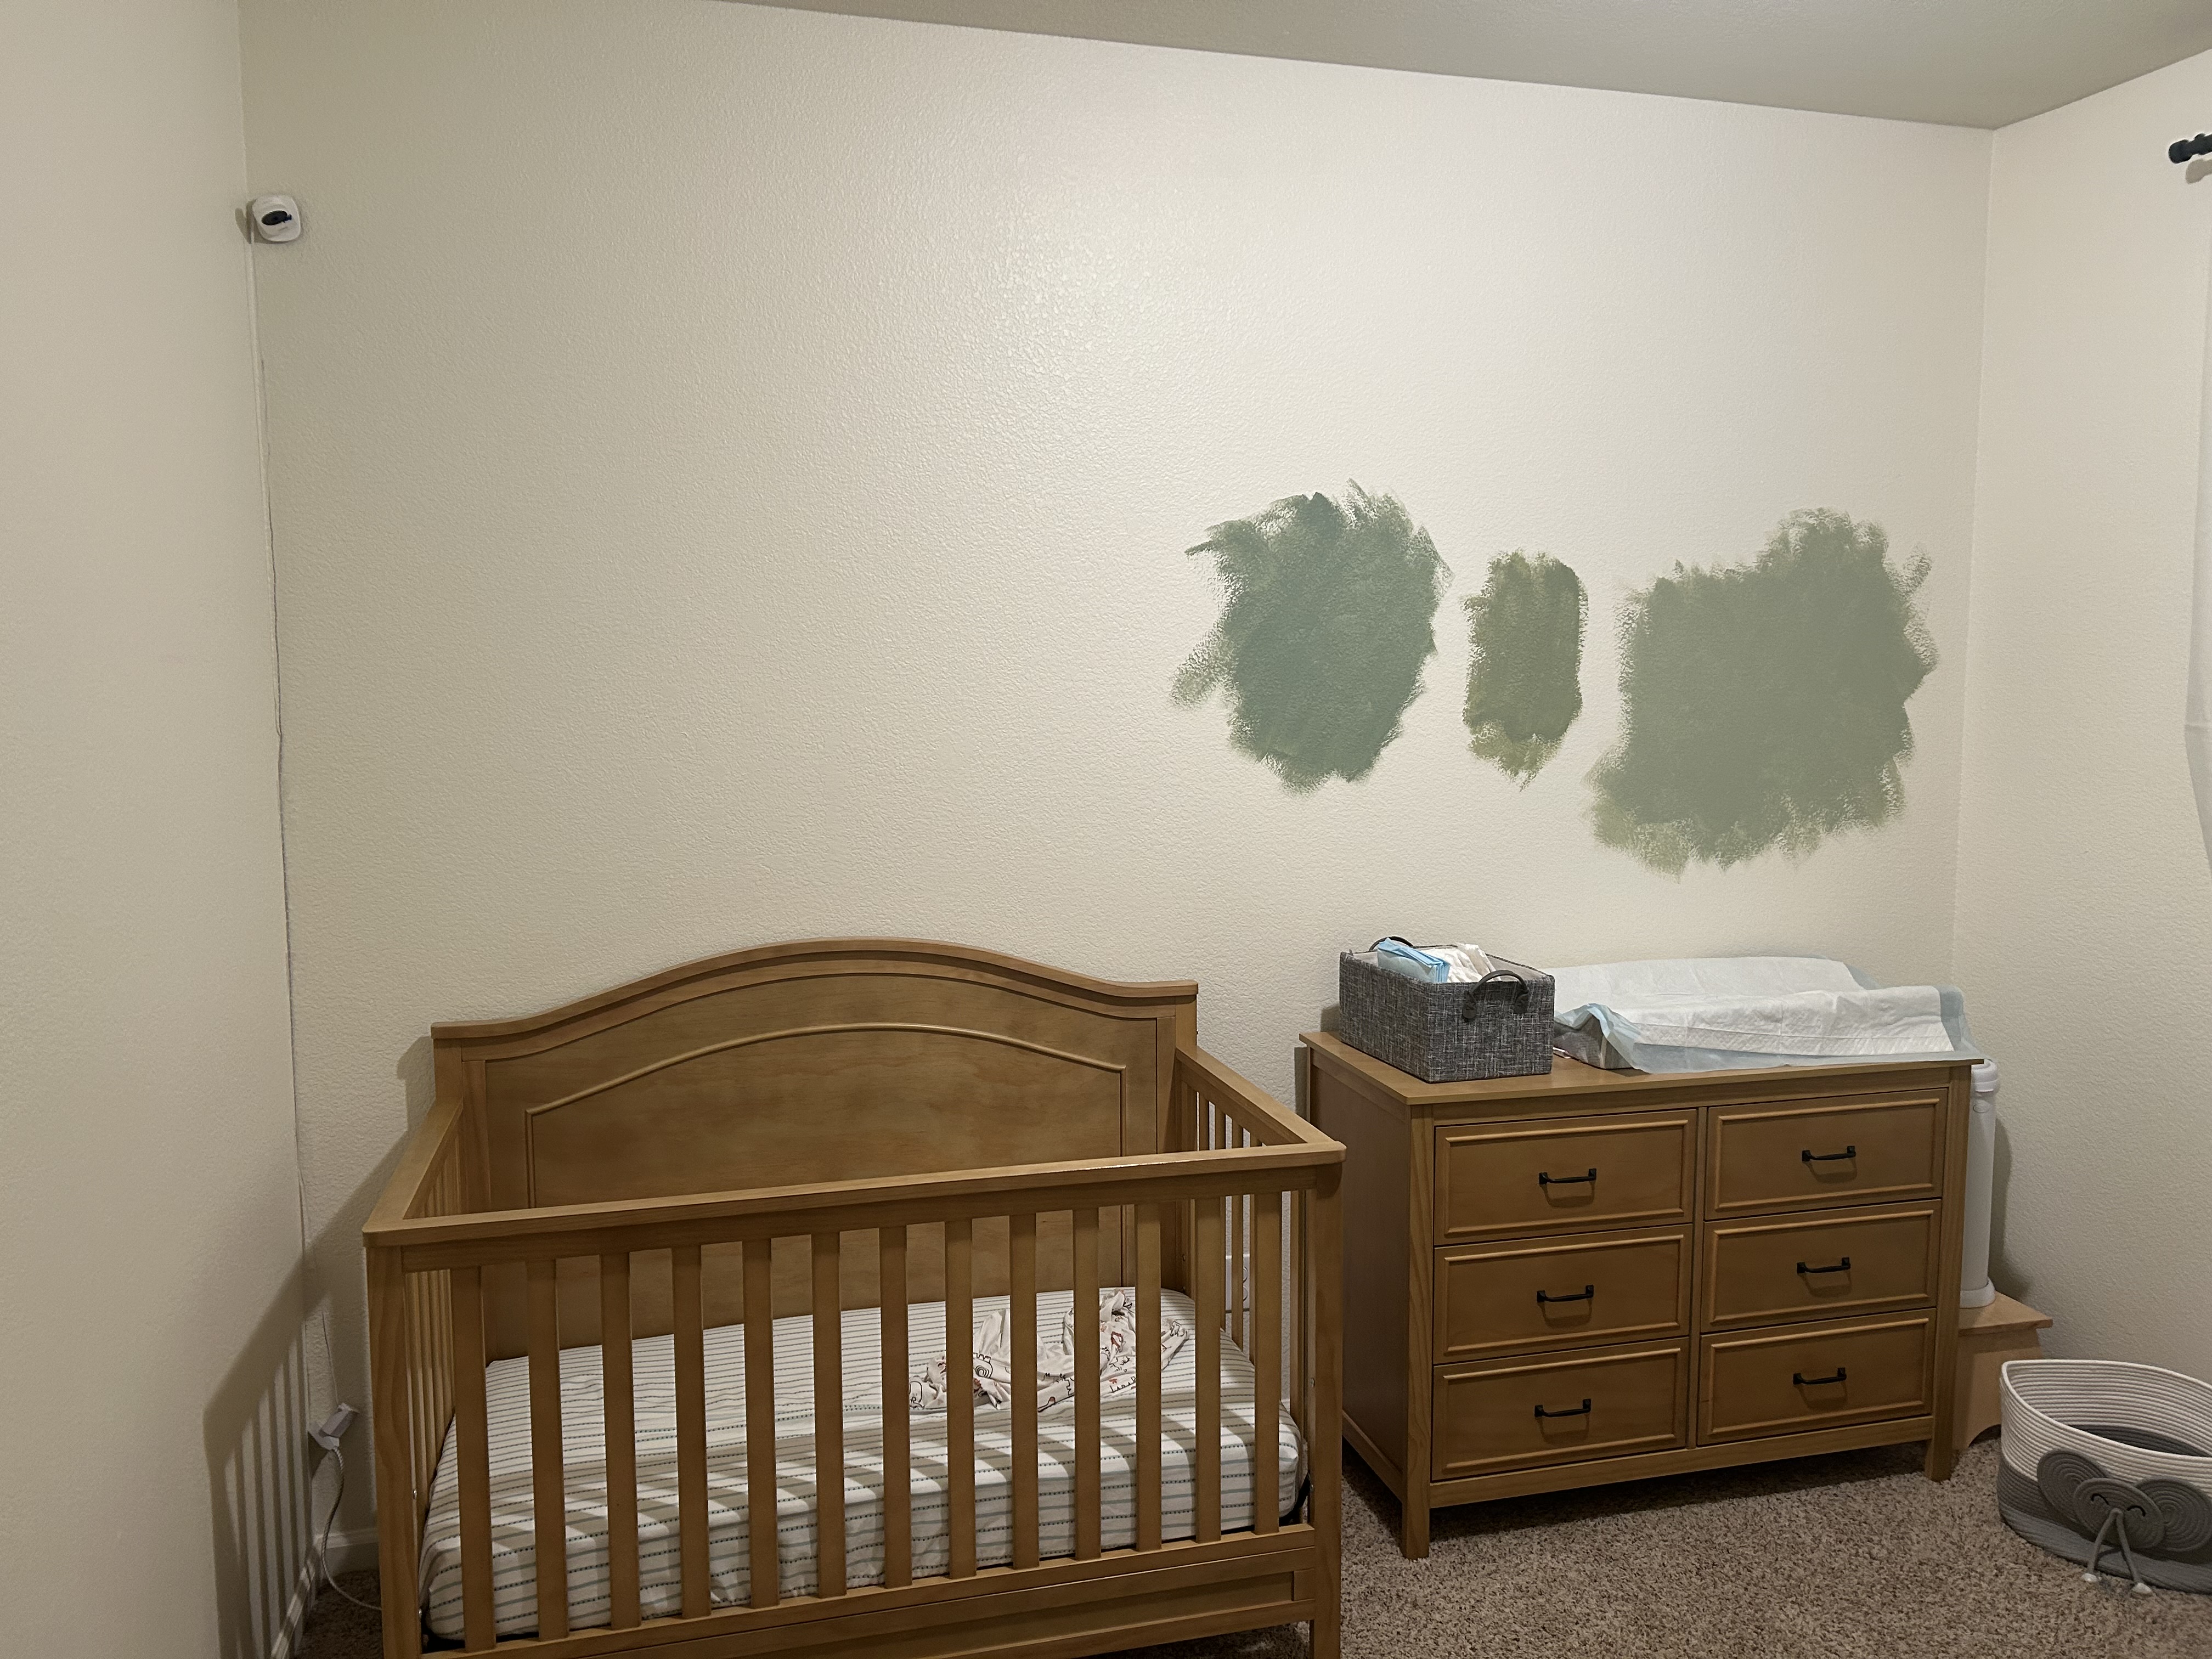
One of the hardest parts of this project was choosing a paint color. I had found some inspiration on Pinterest, but there was never a way to figure out the actual paint color being used, so it became a lot of trial and error. I ended up trying six different paint samples and kept going back and forth on which one I wanted to use.
Originally, I pictured a soft sage green (pictured on the fair right SW Clary Sage), but somewhere along the way, I started gravitating toward a bolder, more blue toned green. I think part of that had to do with my daughter’s personality starting to come through. I could just picture her loving a more bold color rather than something soft and muted.
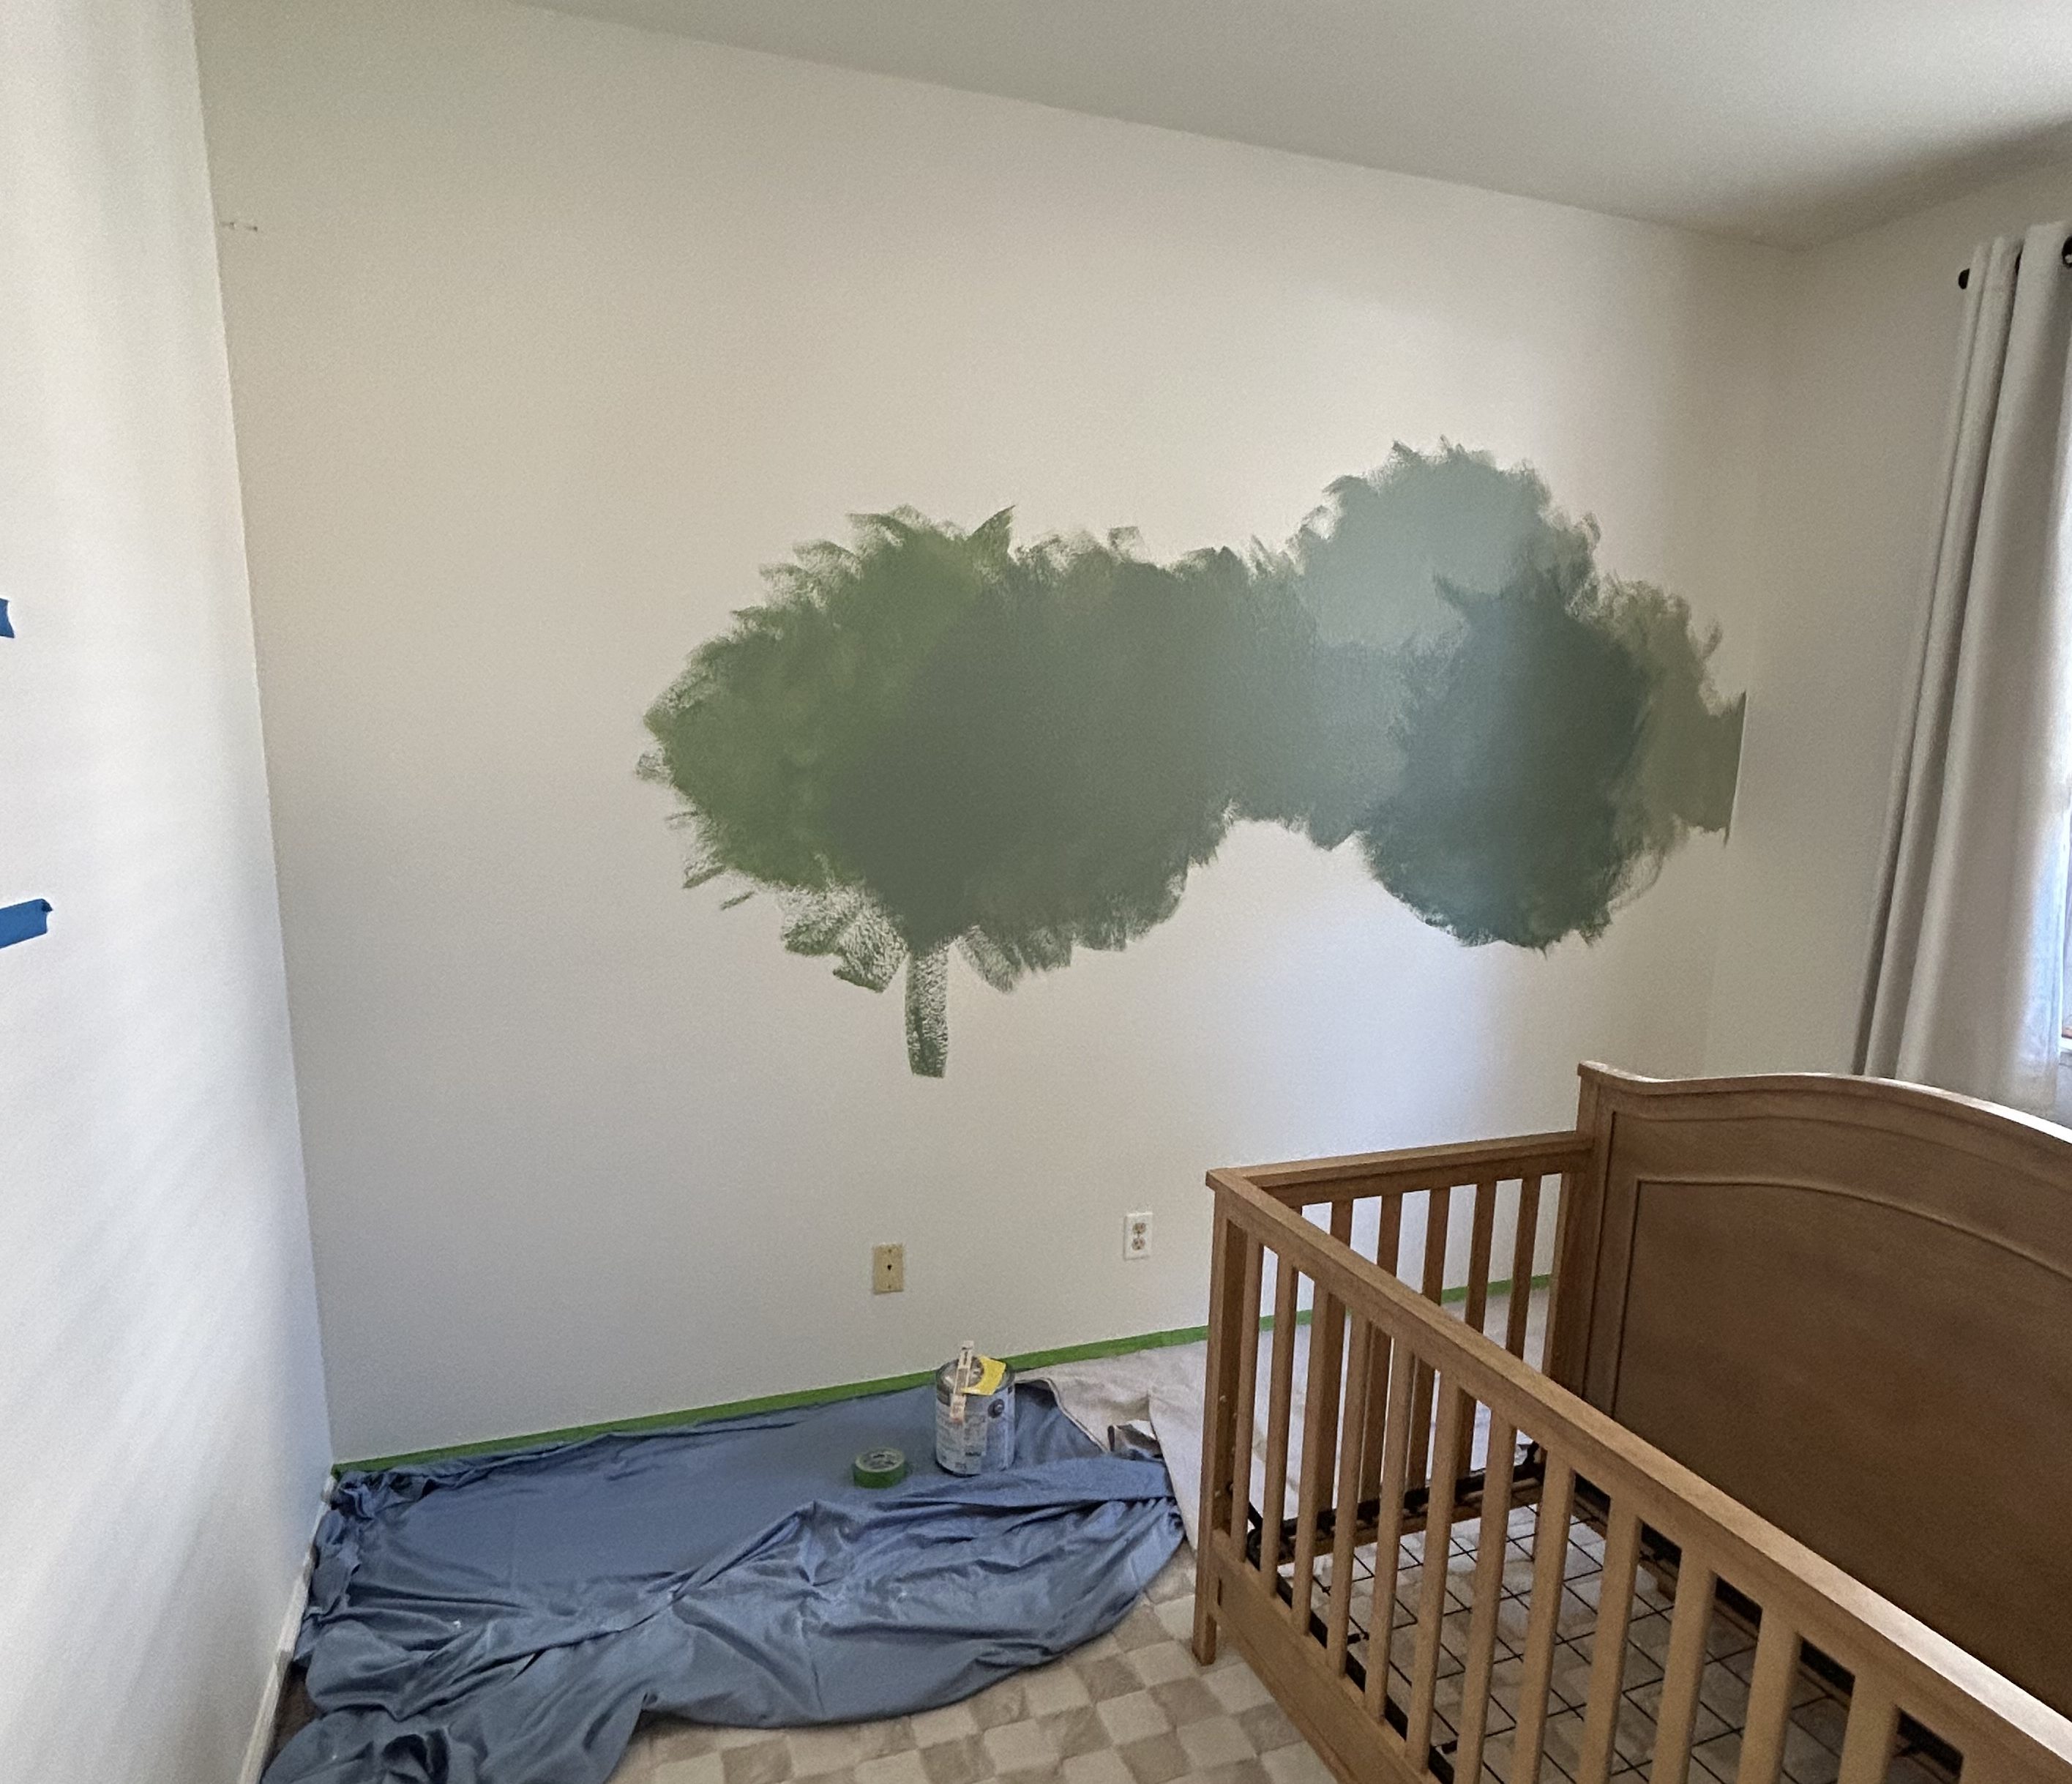
I asked friends and family for their opinions, and, of course, everyone loved the sage green the best. But I just couldn’t shake the feeling that I wanted to go with the darker color. Eventually, I decided to go against everyone else’s opinion and chose the color they liked the least: SW Jade Dragon!
Thankfully, my husband was one of the few people who was on board with the color, although I quickly started wondering if I was making a huge mistake. I reminded myself that it’s just paint and, if I ended up hating it, I could always paint over it. Even though, admittedly, that would be pretty annoying and a lot more work than I wanted to do!
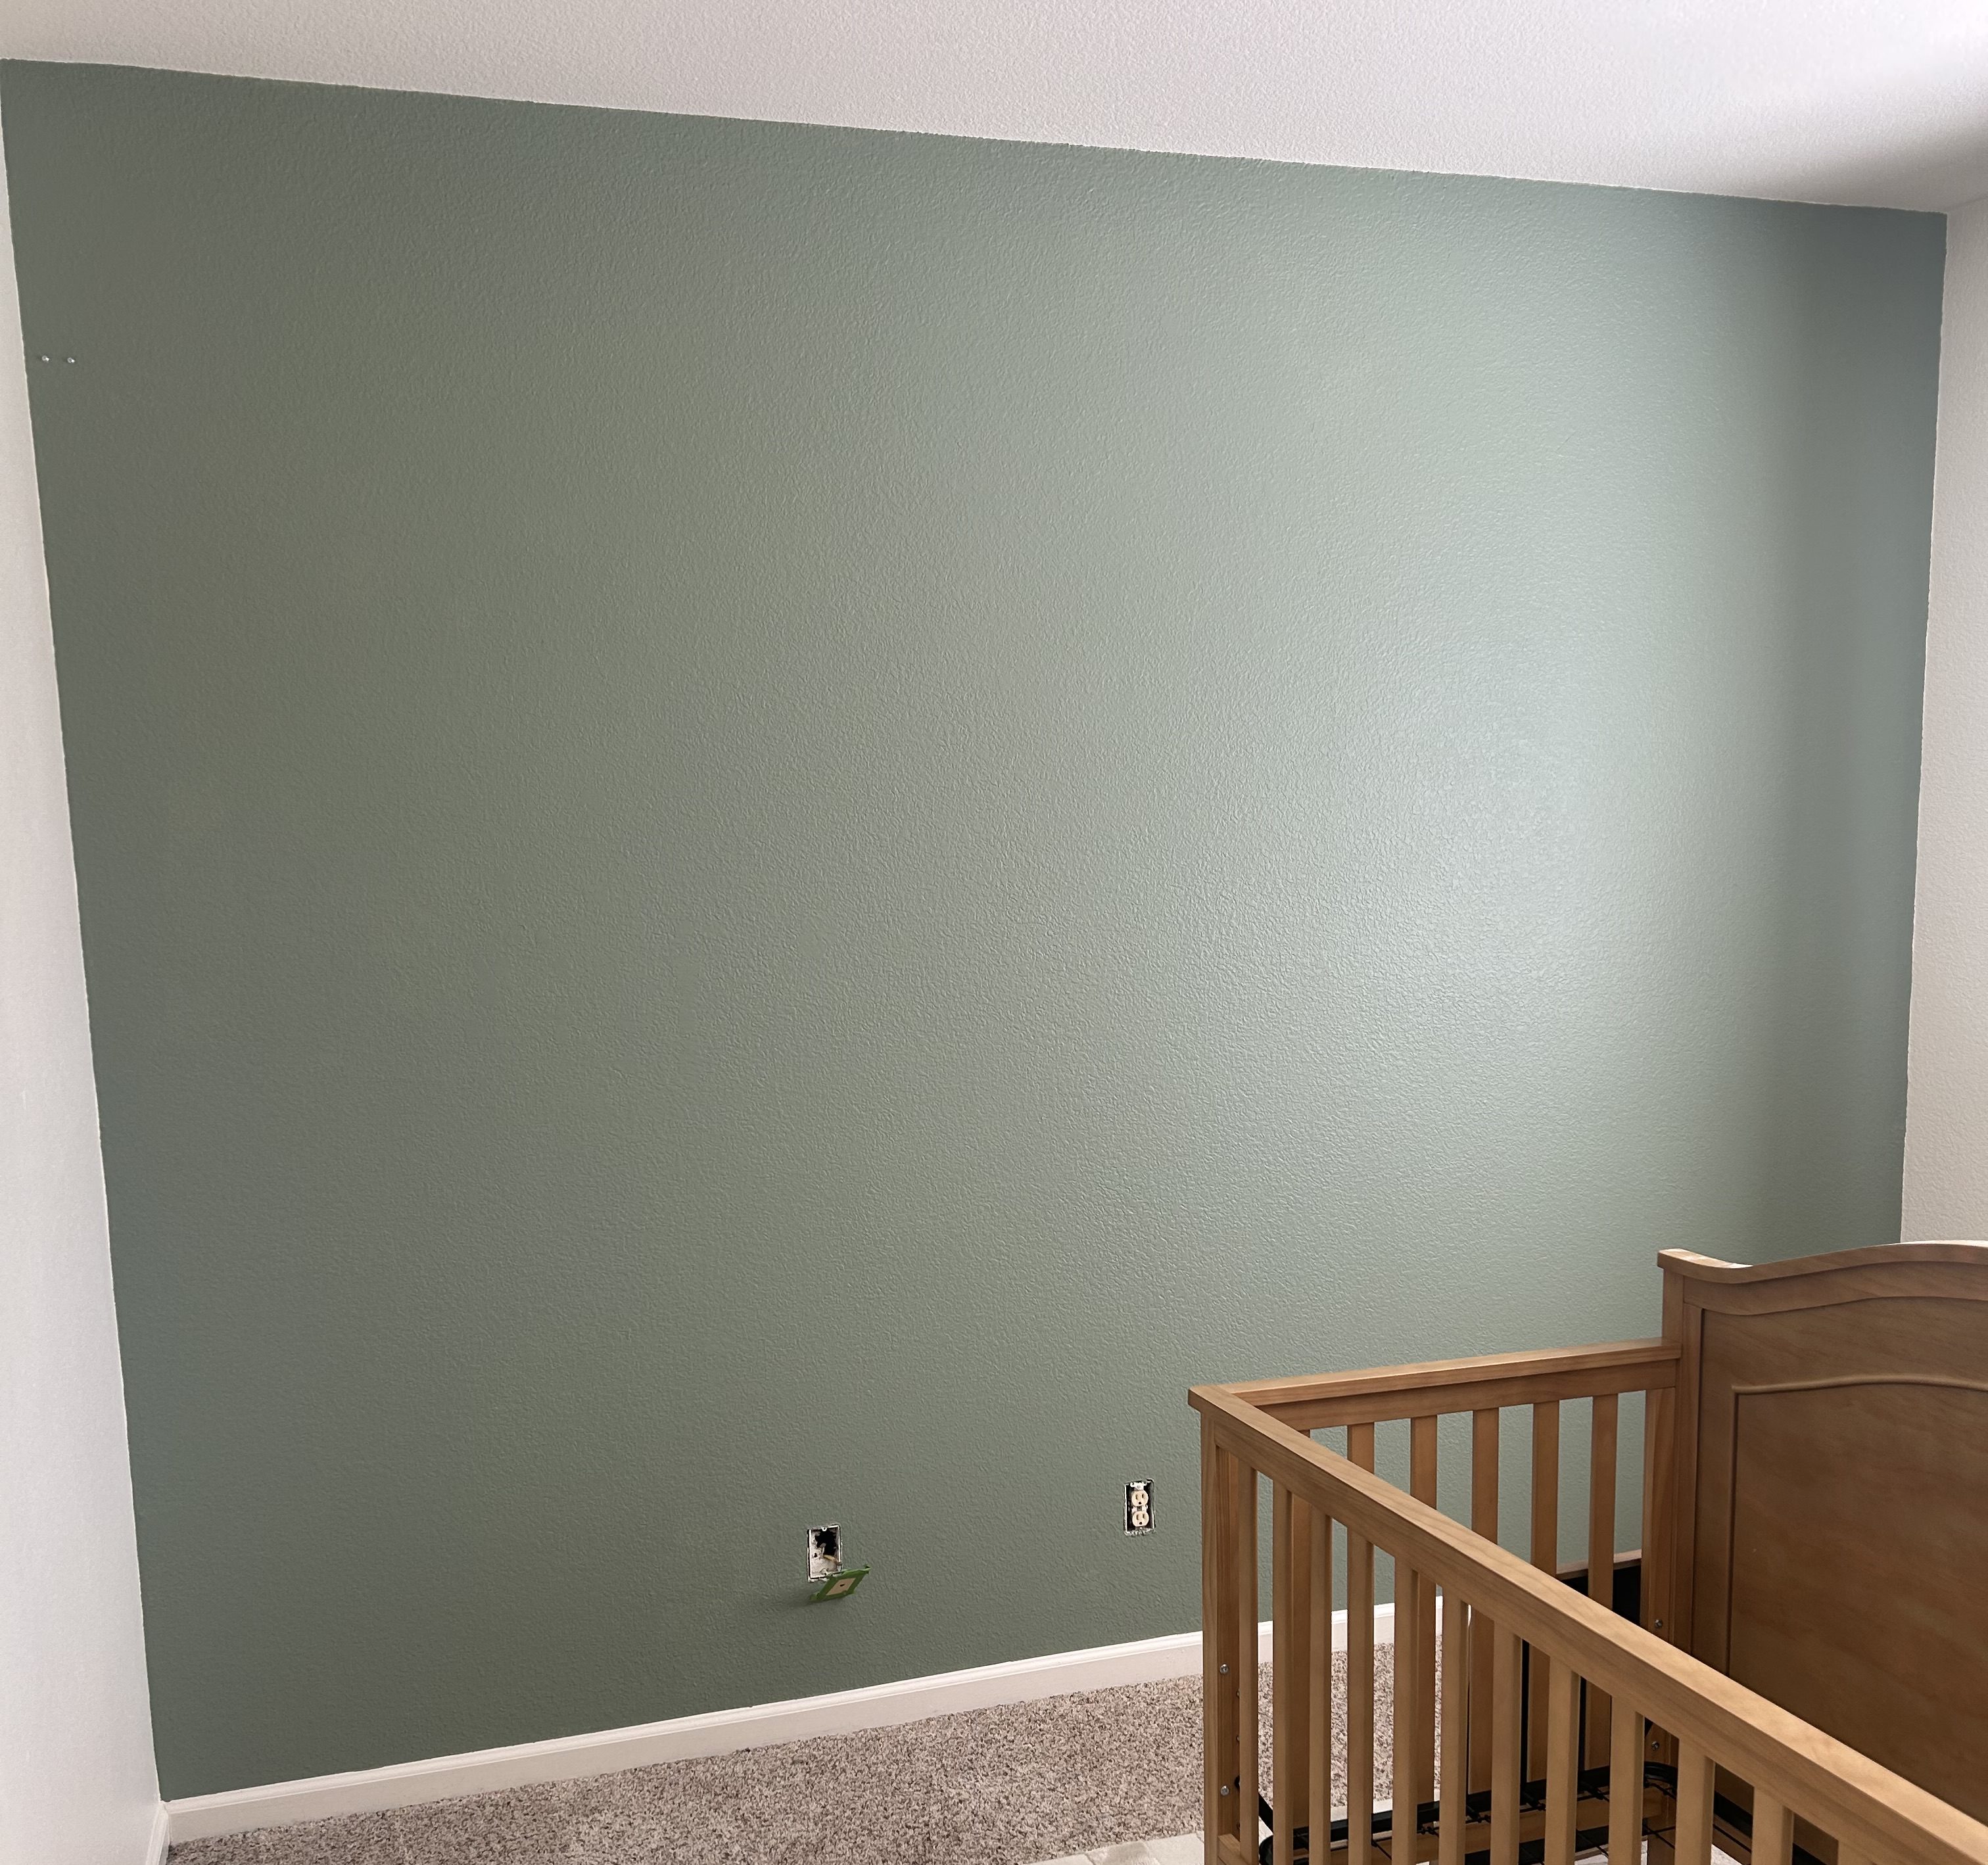
With the help of a friend, we got to work painting the wall! As soon as I started painting, I had a feeling I was going to love the color, and once the wall was finished, I knew I had made the right choice. It was exactly the bold, blue toned green I had been envisioning.
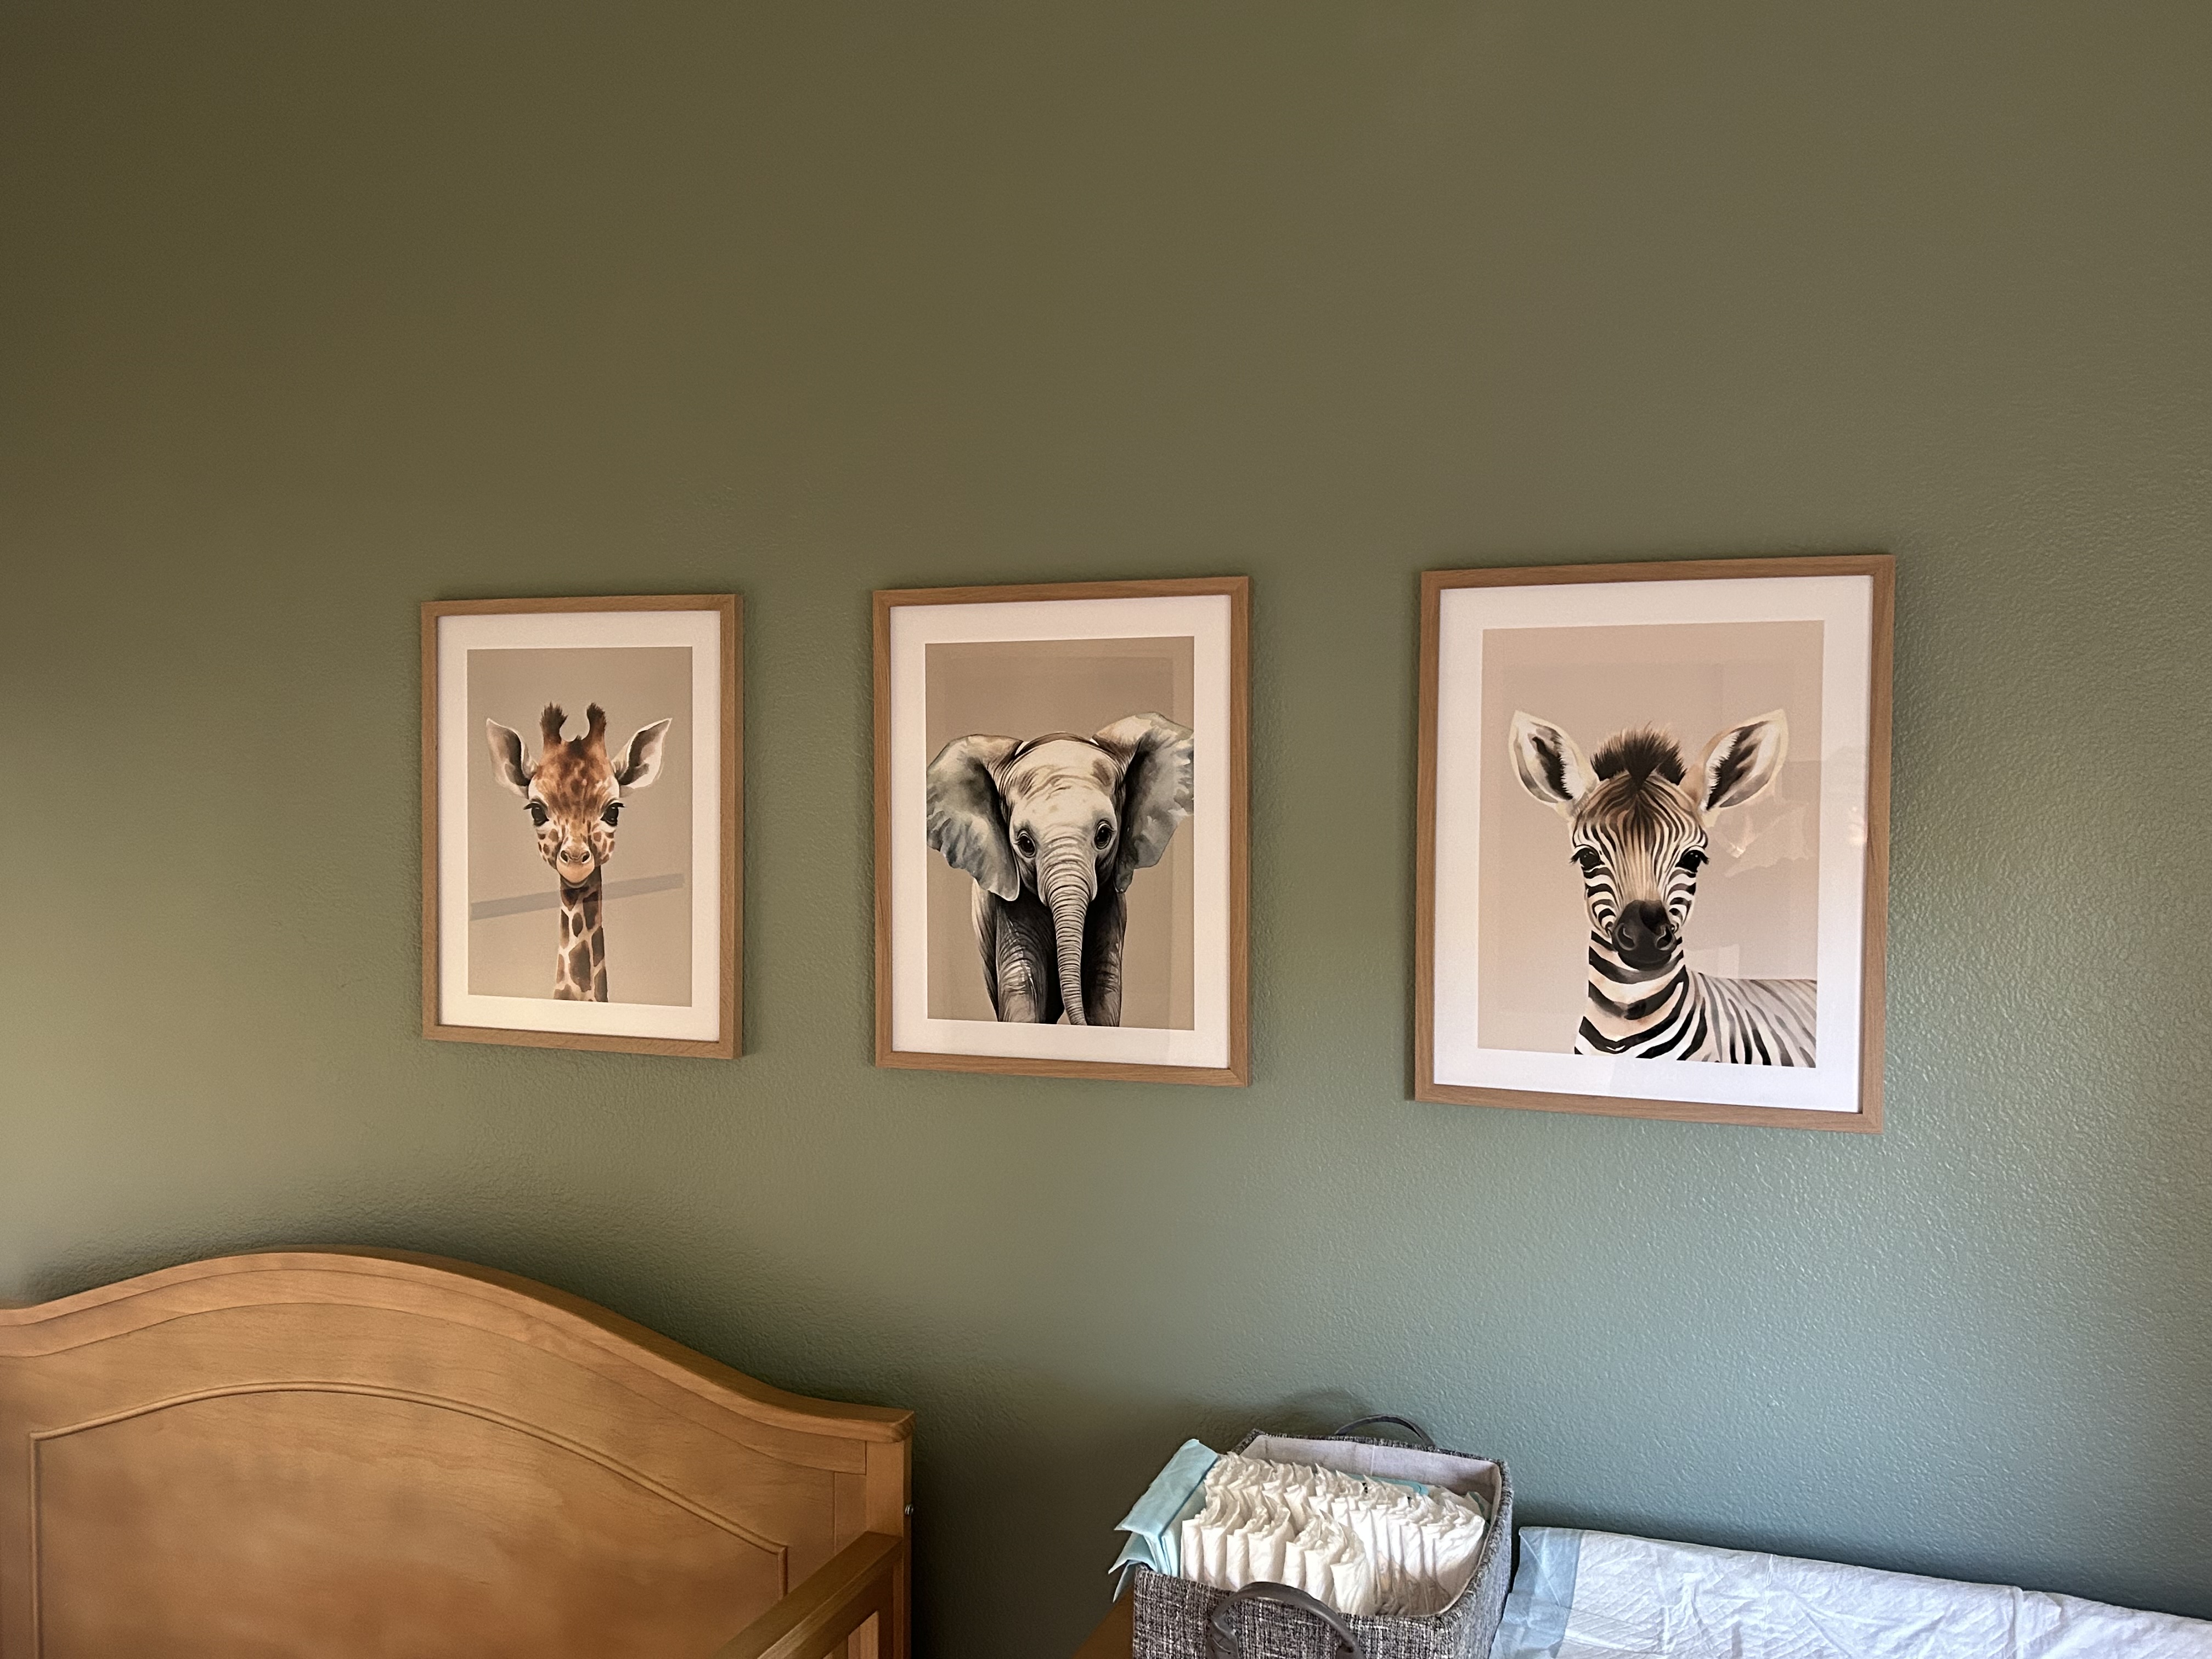
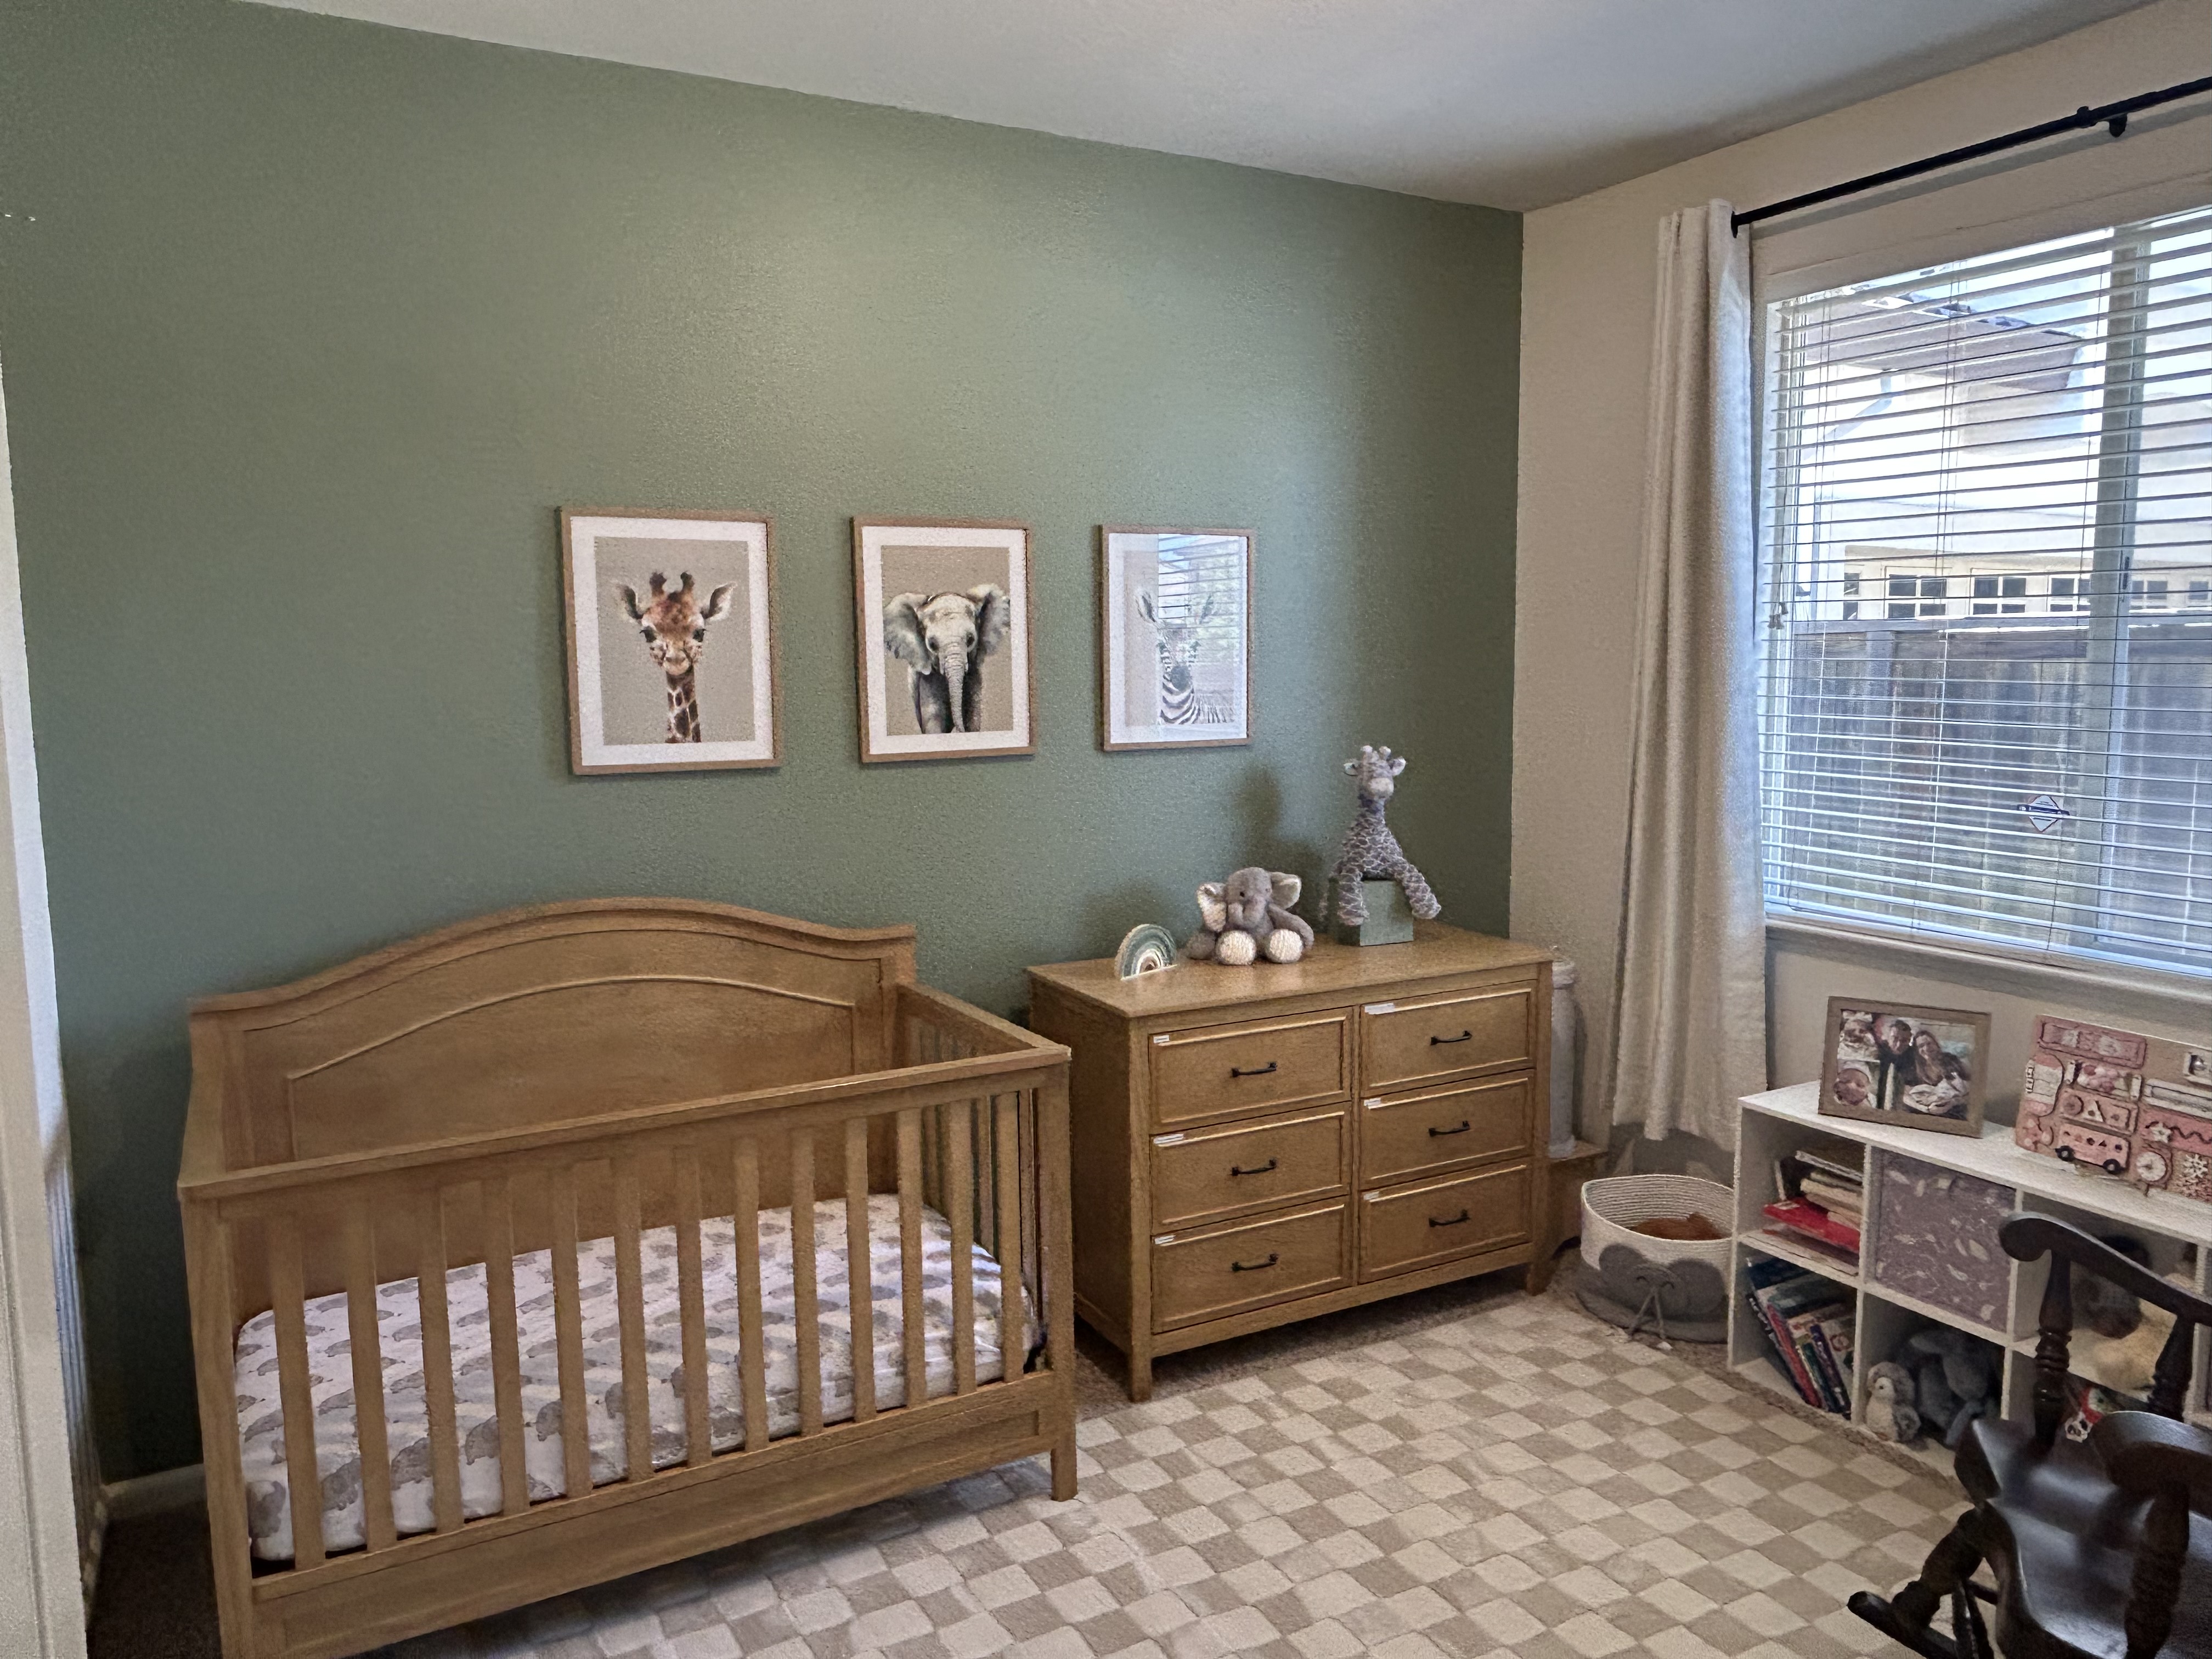
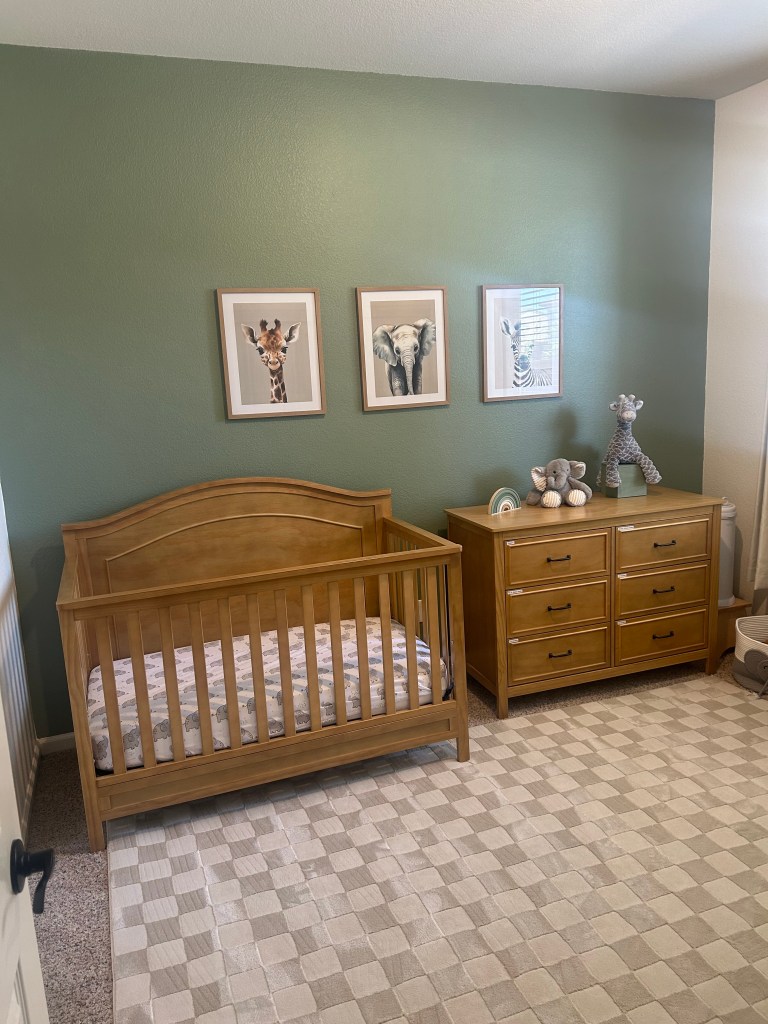
Next came the fun part: decorating! I wanted to incorporate an animal theme and loved the minimalist look of having just a few simple animal prints on the wall. My daughter was also starting to show a real love for animals, especially giraffes and elephants, so it felt like the perfect fit for her room.
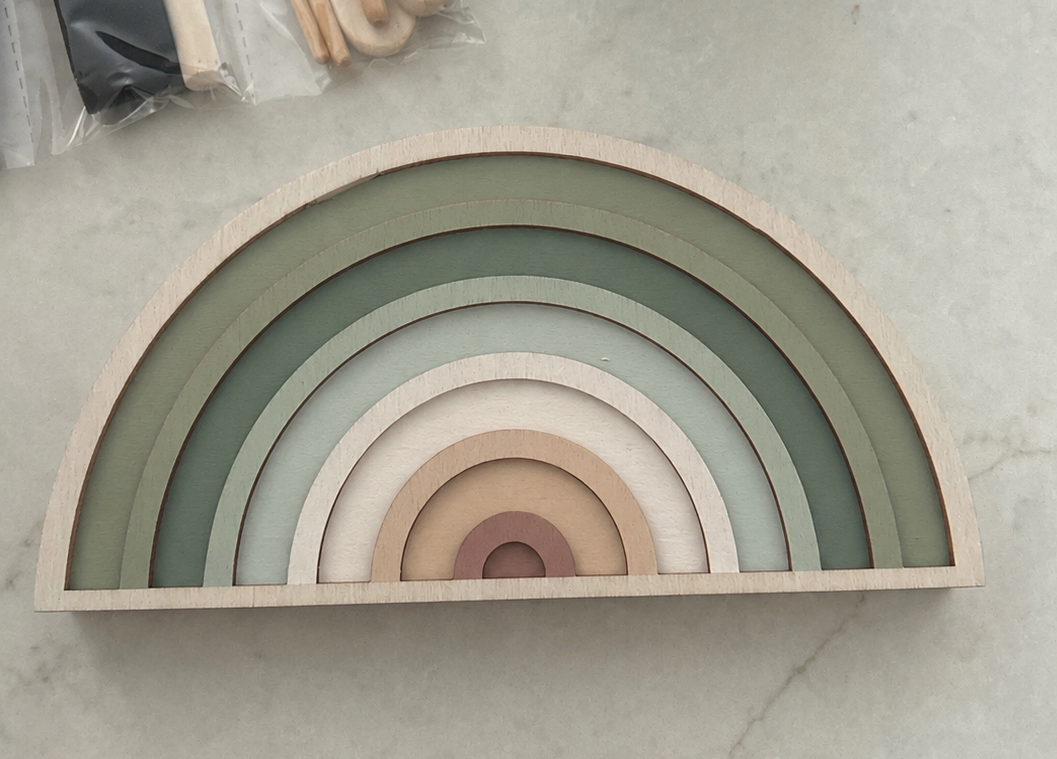
I bought the frames from Target and ordered the animal prints from Etsy, and voilà! The combination was exactly what I had envisioned. I also found a wooden rainbow and a riser box at Michaels and painted them to coordinate with the room. This is where all those paint samples came in handy! Since I had tried so many colors and had three leftover samples from the same color palette, I was able to use them to paint the rainbow and riser instead of buying even more paint.
To add a little more color and to make the room feel a little more girly, I found a few lavender floral fabric storage bins at Target and replaced the dark old blue ones I had been using. It was a small change, but the purple added just the pop of color the room needed.
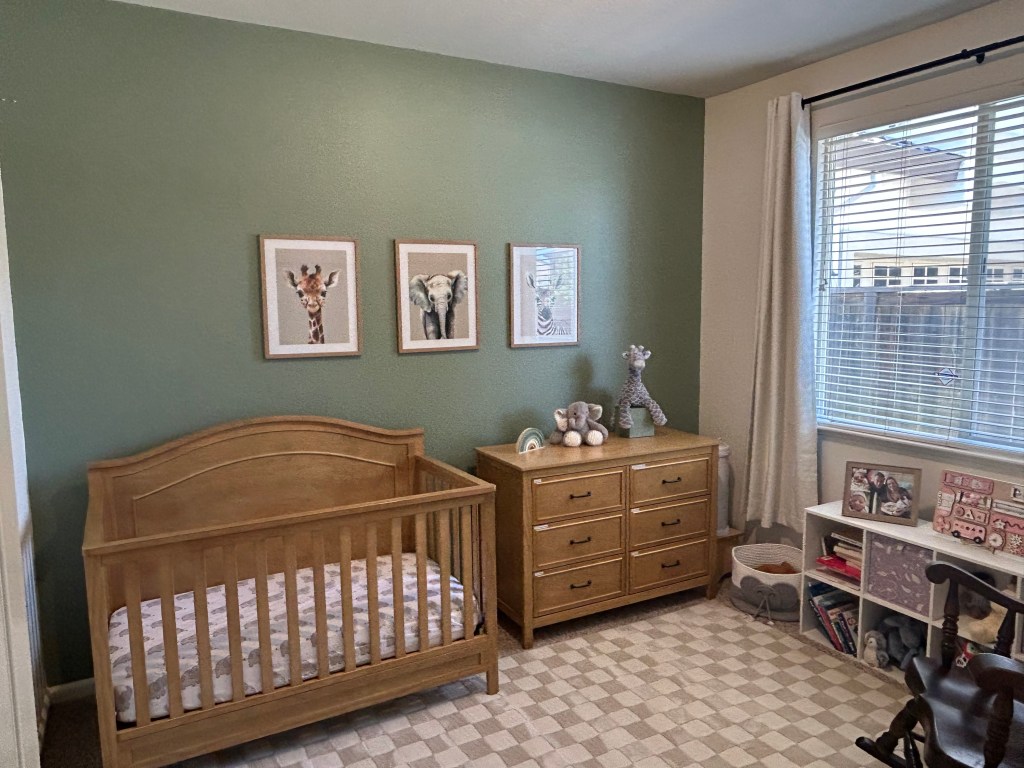
And last but not least, I needed a rug to tie everything together! To be honest, part of the reason I wanted a rug was to cover up our ugly, worn out carpet that we haven’t had a chance to replace yet. But I also wanted something fun and kid friendly without being too distracting. And, of course, it had to be soft!
I looked at what felt like a million rugs before finally settling on this beautiful cream rug from RugsUSA, the Cape May Plush Textured Washable Rug. I loved the simple texture and neutral color because it added some warmth to the room without competing with the green wall or the animal prints.
This was actually the second rug I purchased. The first one was beautiful, but it had such a strong chemical smell that even after letting it air out, the smell wouldn’t go away. Needless to say, it had to go back! Thankfully, the second rug ended up being exactly what I was looking for.
We also ended up adding a blackout, heat resistant honeycomb shade, which was so needed in my daughter’s west facing room. It blocks out so much heat and light and helps keep the room cool and dark for naps and throughout the night, which is especially important when it’s 100+ degrees outside. I would definitely recommend one if your child’s room gets a lot of evening sun! We got ours from Blinds.com and also used blackout curtains that we already had on hand.
And just like that, after 15 months, my daughter’s room was finally complete! I was so happy to check this project off my list and, even more importantly, to have a beautiful space that both my daughter and I could enjoy. Here are a few things I learned along the way:
- Use Zero VOC paint.
Because this is a child’s room, I was very conscious about choosing a paint with low odor and fewer emissions. Thankfully, Sherwin Williams has a Zero VOC option, Symmetry, although it is a bit pricier. I was able to get it for 30% off during one of their sales, which definitely helped! - Make sure your child has somewhere to stay during the painting process and afterward.
Even with Zero VOC paint, I wanted to be extra cautious and have my daughter stay somewhere else while I painted and the room aired out. I was so grateful that my parents were able to watch her overnight, which gave me plenty of time to paint and let the room air out before she came home. - Sealing the edges of your painter’s tape is important if you have textured walls.
Our walls have a lot of texture, which made getting clean paint lines surprisingly difficult. I usually like to freehand my edges, but with these walls, I think it would have looked much better if I had taped everything off and sealed the edges with the existing wall color before painting. - It’s so much fun to show your child their new room!
My daughter absolutely LOVED her room. When we showed it to her, she was beyond excited. She can’t say many words yet, but it was obvious from her facial expressions and excited babbles that she loved it. She kept pointing at all of the animals and making the cutest little noises. Now, every night, she loves saying goodnight to the giraffe, elephant, and zebra. It’s honestly one of my favorite parts of the room! - Don’t feel bad if you have to wait 15 months, or even longer, to decorate your child’s room.
I used to feel guilty when people would ask me about the nursery and I had to admit that I hadn’t really done anything with it. But the truth is, you can show your children love in so many different ways, and that is what really matters. Decorating their room can wait.
And if you do get around to it later, there’s actually a pretty special upside to waiting. Getting to see my daughter’s reaction to her new room was so much more meaningful because she was old enough to appreciate it. I never would have gotten those excited babbles, pointing, and nightly goodnights to her favorite animals if the room had always looked this way. So maybe waiting 15 months wasn’t such a bad thing after all!
Let me know what your thoughts on the transformation below!
.
 Blissful Bites by Laura